Here is a video tutorial on how to create a workflow. For more background, please read the below article.
A workflow is a series of automated actions triggered by custom system logic for your account.
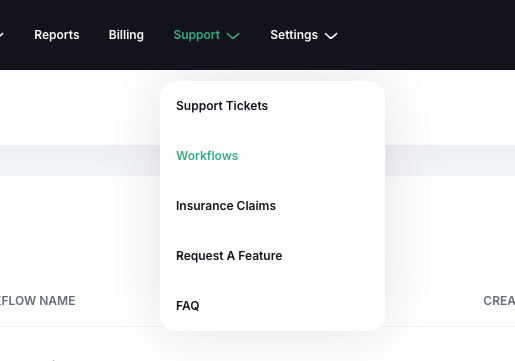
To access the Workflows Manager, from the menu bar select Support > Workflow. This will redirect you to a page showing you any currently existing workflows. You can filter through existing workflows from the right hand side:
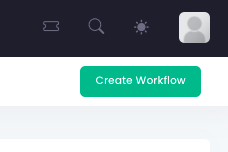
To create a new workflow, select the Create Workflow option in the top right:
From the popup, enter a name for the workflow, the warehouses it will apply to, start and end dates, and the criteria. Once all information is input in the fields, select Create Workflow:

When entering the criteria, enter a brief description of the perimeters of the workflow, and be as specific as possible. An example of a workflow could be adding a specific marketing insert to each shipment that contains a particular SKU during a promotional period.
An account manager will oversee all workflows for approval before our development team constructs the new protocol.