You can view all the returns for your account by selecting Orders > Returns from the main menu.
On the next page, you will see an overview of all of your returns on your default warehouse. Note that if you have selected a different warehouse or filter previously, it will default to that setting. You can also search for a specific return from the search bar on the left:

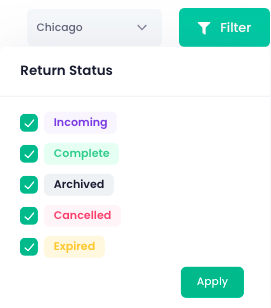
You can filter your returns further by selecting the Filter option on the right hand side, as well as change the warehouse location if applicable:
To create a new return, select the Create Return button in the top right:
A popup will appear that will ask you to select the SKUs to add to your return. Select the Add button to the right of the SKU(s) you want:
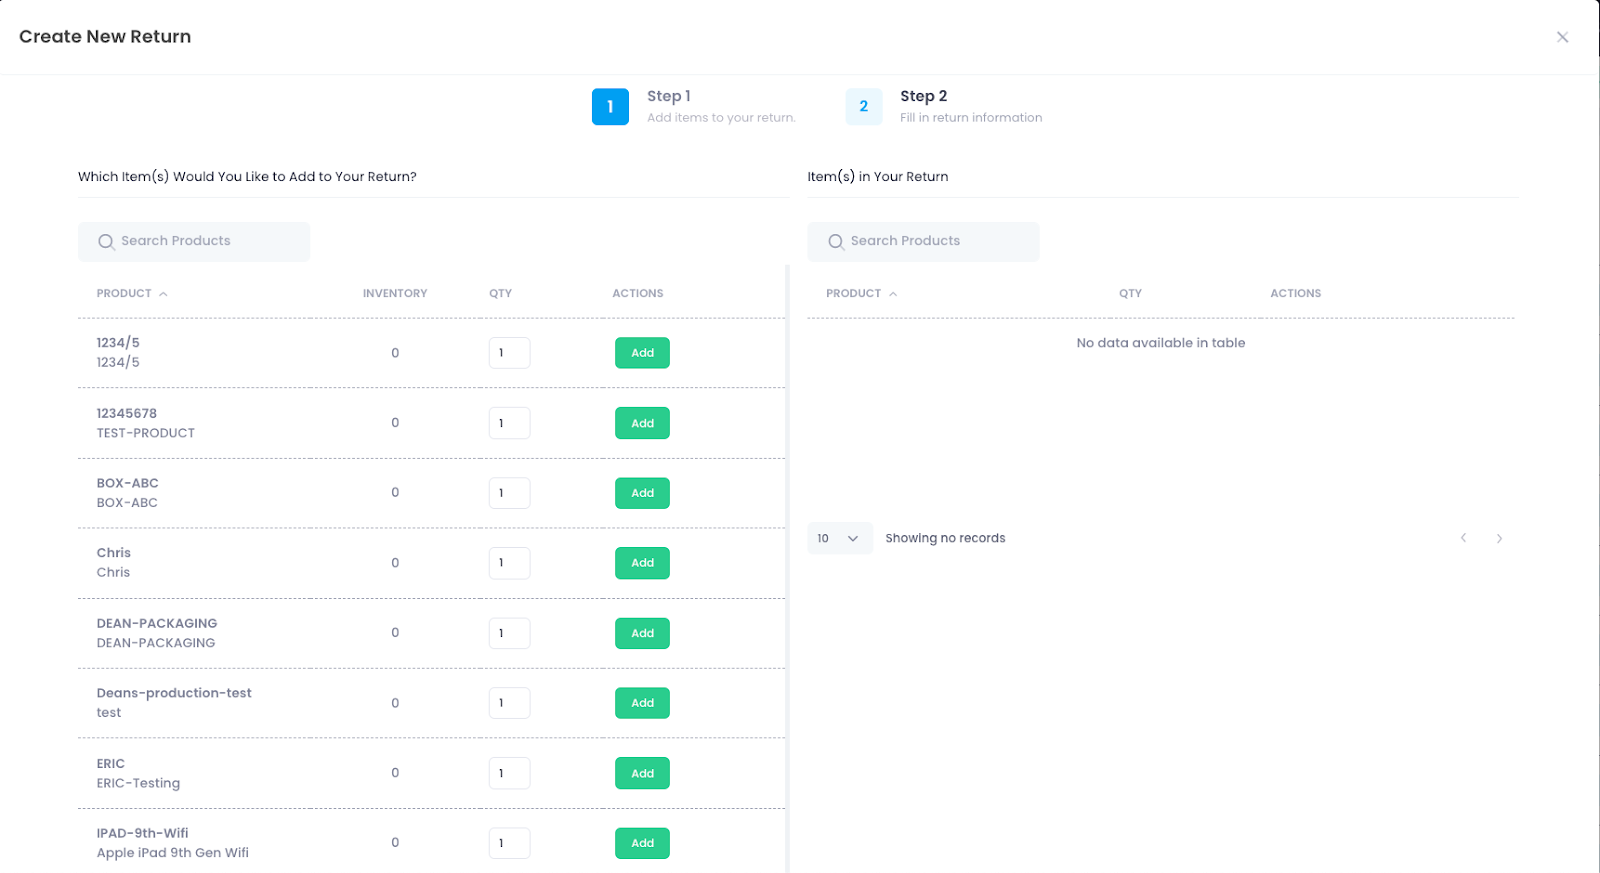
Once you have added all the SKUs you want and the quantities, select the Continue button to take you to the next page, where you can fill in the details of your customer:
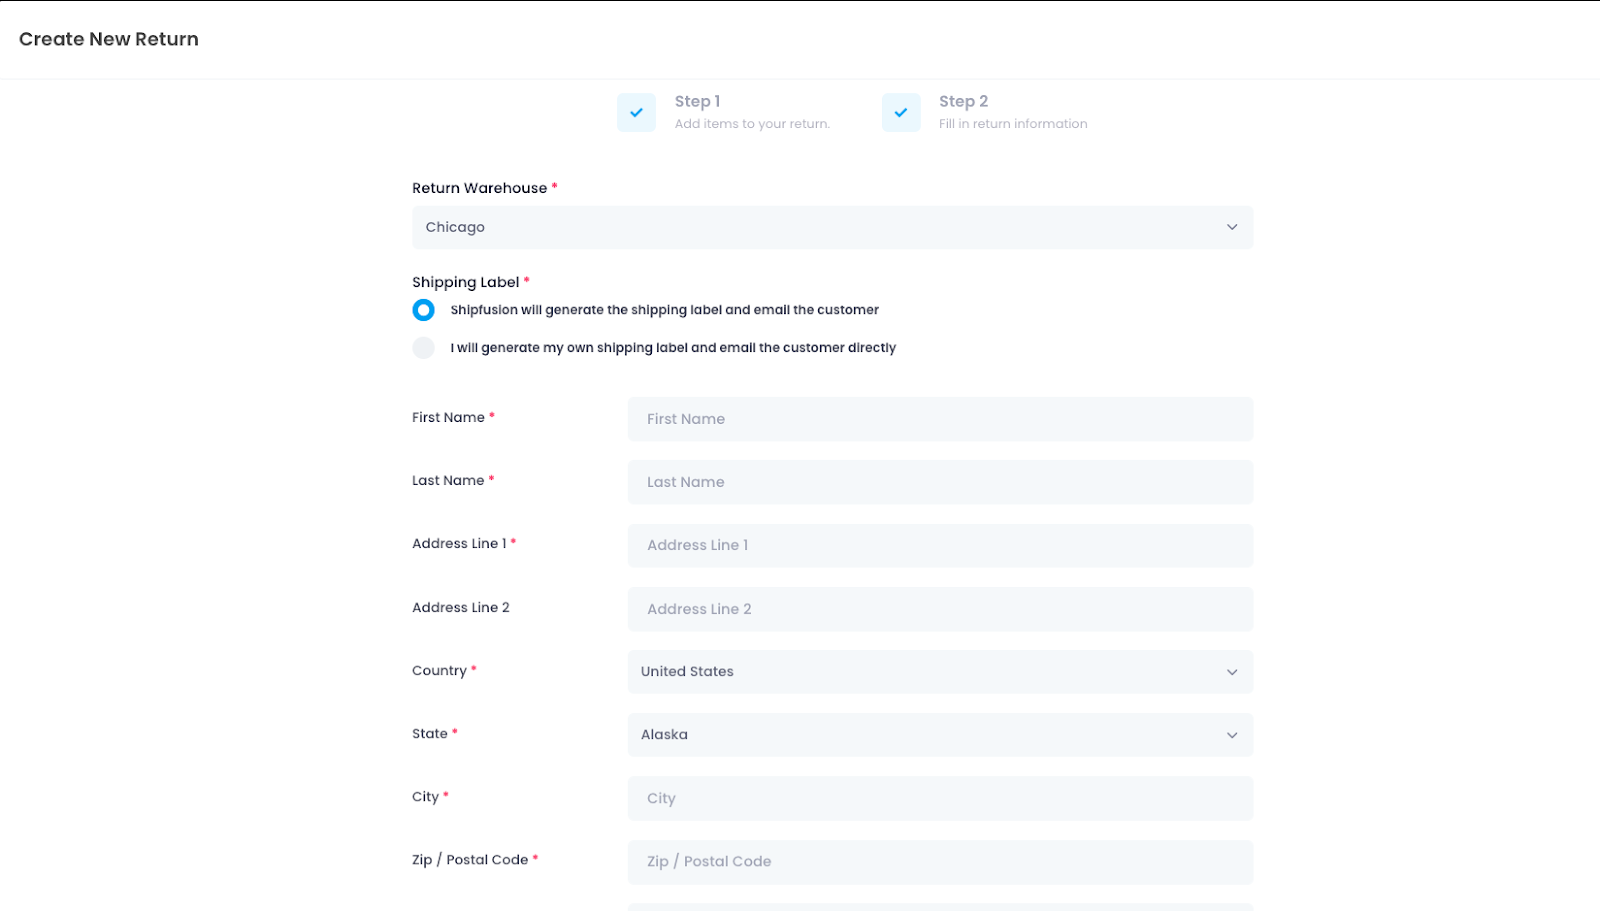
Be sure to select the correct warehouse for the return, as well as the type of shipping label. Once the fields have been filled out with your customer’s information, you can select the Submit button to finish creating the return.
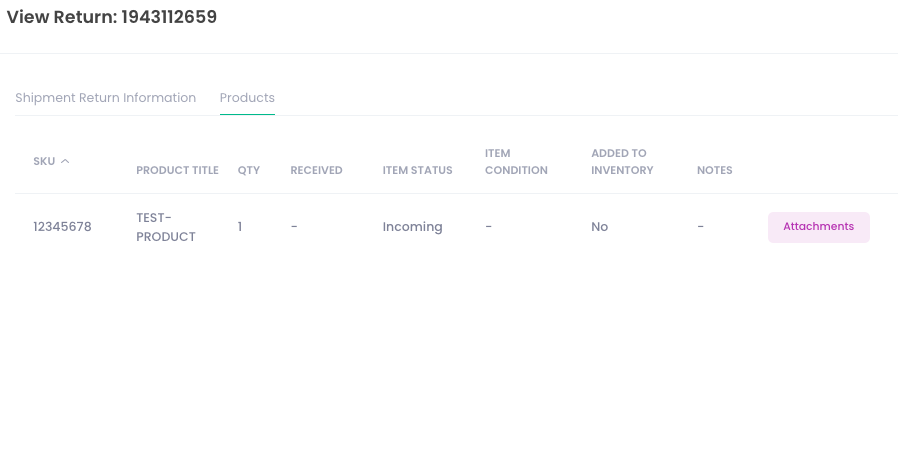
To view a return, select the Actions button for the corresponding return and then select View to be brought to the details of the return: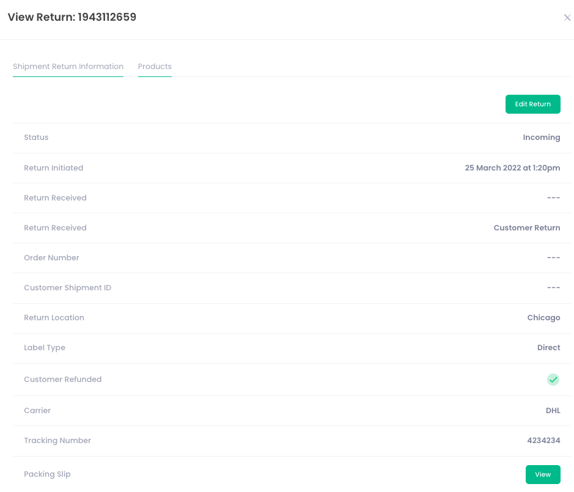
Here you can see a quick overview of all the relevant information related to your return. To view the products included in the return, select the Products tab at the top:
